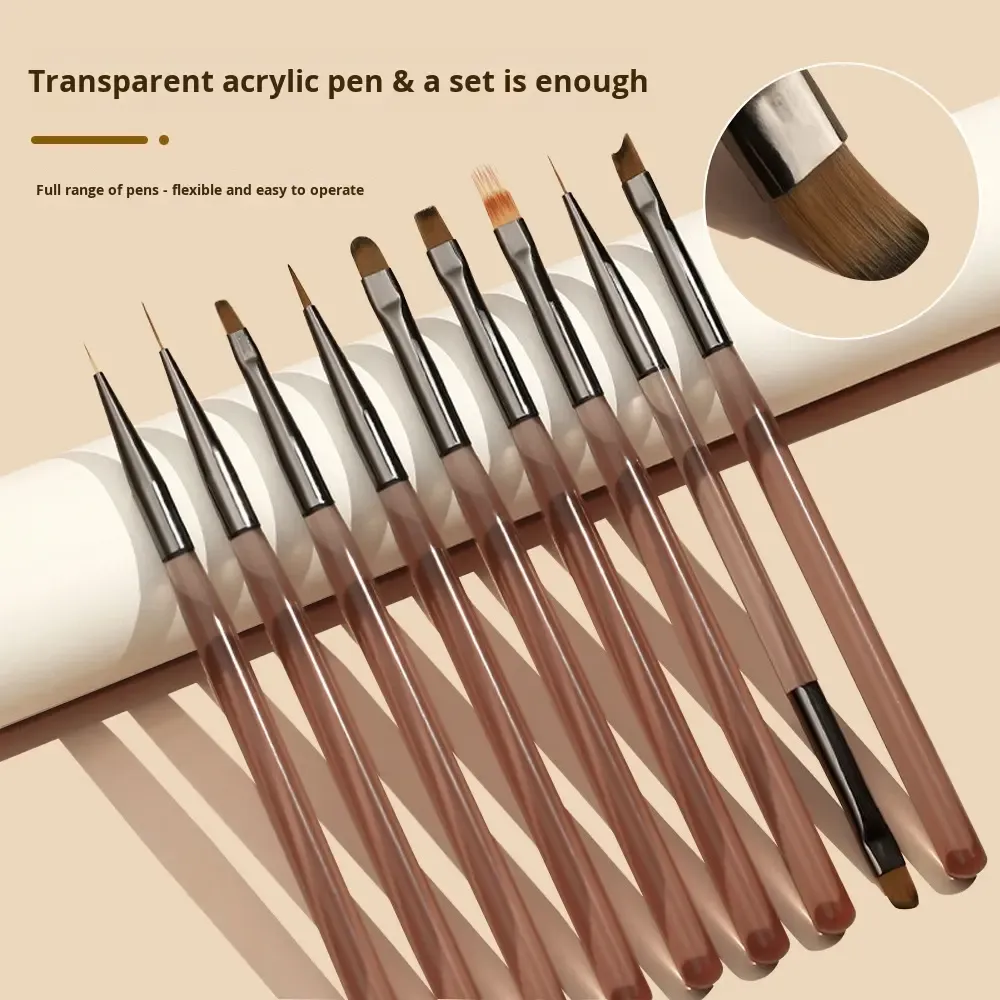
Your Precision Wand for Flawless Nail Art
Is your creativity being held back by clumsy, thick brushes? The difference between a messy manicure and a masterpiece often lies in the tool you use. Introducing the Nail Art Brush for Gel Polish Design, the ultimate instrument for nail technicians and DIY enthusiasts who demand precision.
Whether you are attempting the viral "swirl nails," classic French tips, or intricate geometric patterns, this brush acts as an extension of your hand. Designed specifically to handle the viscosity of UV/LED gel polishes, it allows for smooth, uninterrupted strokes without streaking or dragging.
Stop struggling with the brushes that come in the bottle. Upgrade your toolkit and watch your nail art skills level up instantly.
Products Parameters
| Product Name |
Nail Art Brush for Gel Polish Design |
| Bristle Material |
Premium Synthetic Nylon (Vegan & Cruelty-Free) |
| Handle Material |
Durable Acrylic/Alloy with Solvent-Resistant Coating |
| Brush Head Type |
Ultra-Fine Liner / Detailer |
| Compatibility |
UV Gel Polish, Poly Gel, Builder Gel, Gel Paints |
| Packaging |
Standard Bottle / OEM Available |
Why is this nail art brush a worthwhile purchase?
Not all brushes are created equal. Traditional brushes often splay or fray after a few uses. Our Nail Art Brush is engineered to withstand the rigors of daily salon use while being user-friendly for beginners.
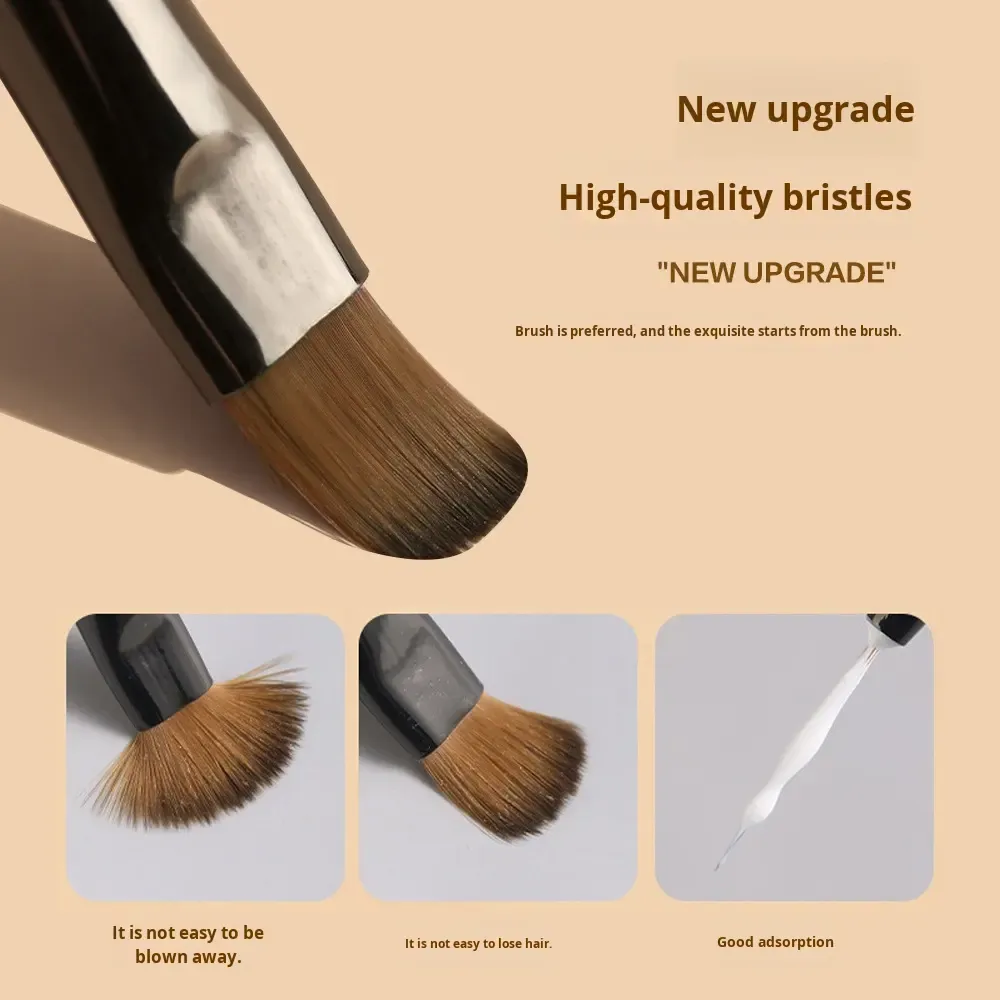
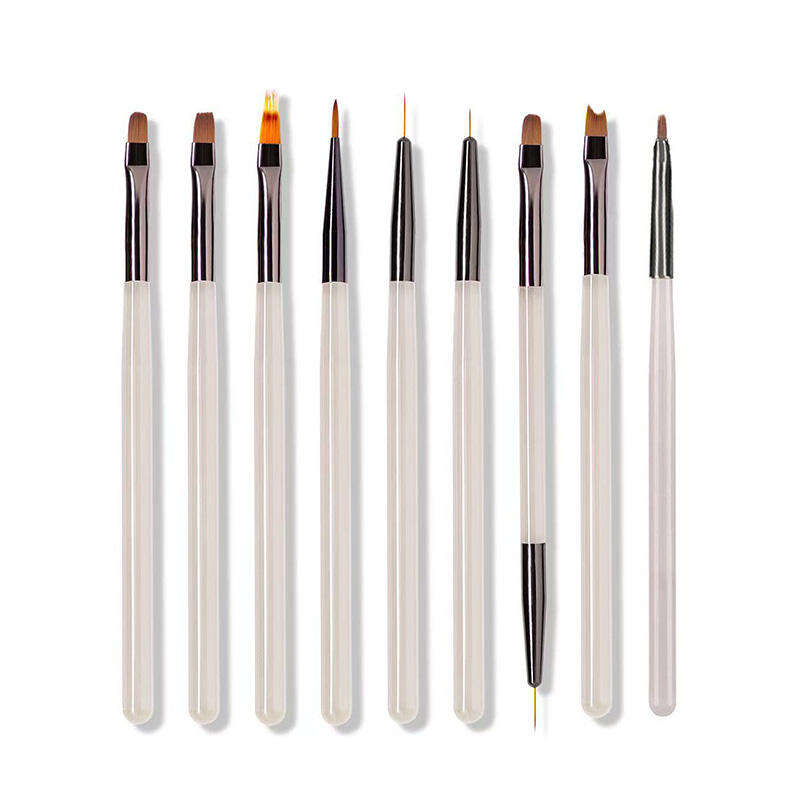
1. Premium Synthetic Nylon Bristles
We use high-grade synthetic fibers that are specifically chosen for Gel Polish Application.
Why not animal hair? Animal hair is porous and absorbs too much gel, making the brush heavy and hard to clean. Our synthetic bristles are non-porous, ensuring the gel sits on the bristles for a smooth flow onto the nail.
Shape Retention: The bristles possess excellent "snap" and spring, meaning they return to their original sharp point after every stroke.
2. Double-Crimped Metal Ferrule
There is nothing worse than shedding bristles ruining a fresh coat of polish. Our seamless copper ferrule is double-crimped to the handle, locking the bristles firmly in place. Say goodbye to stray hairs sticking to your wet gel!
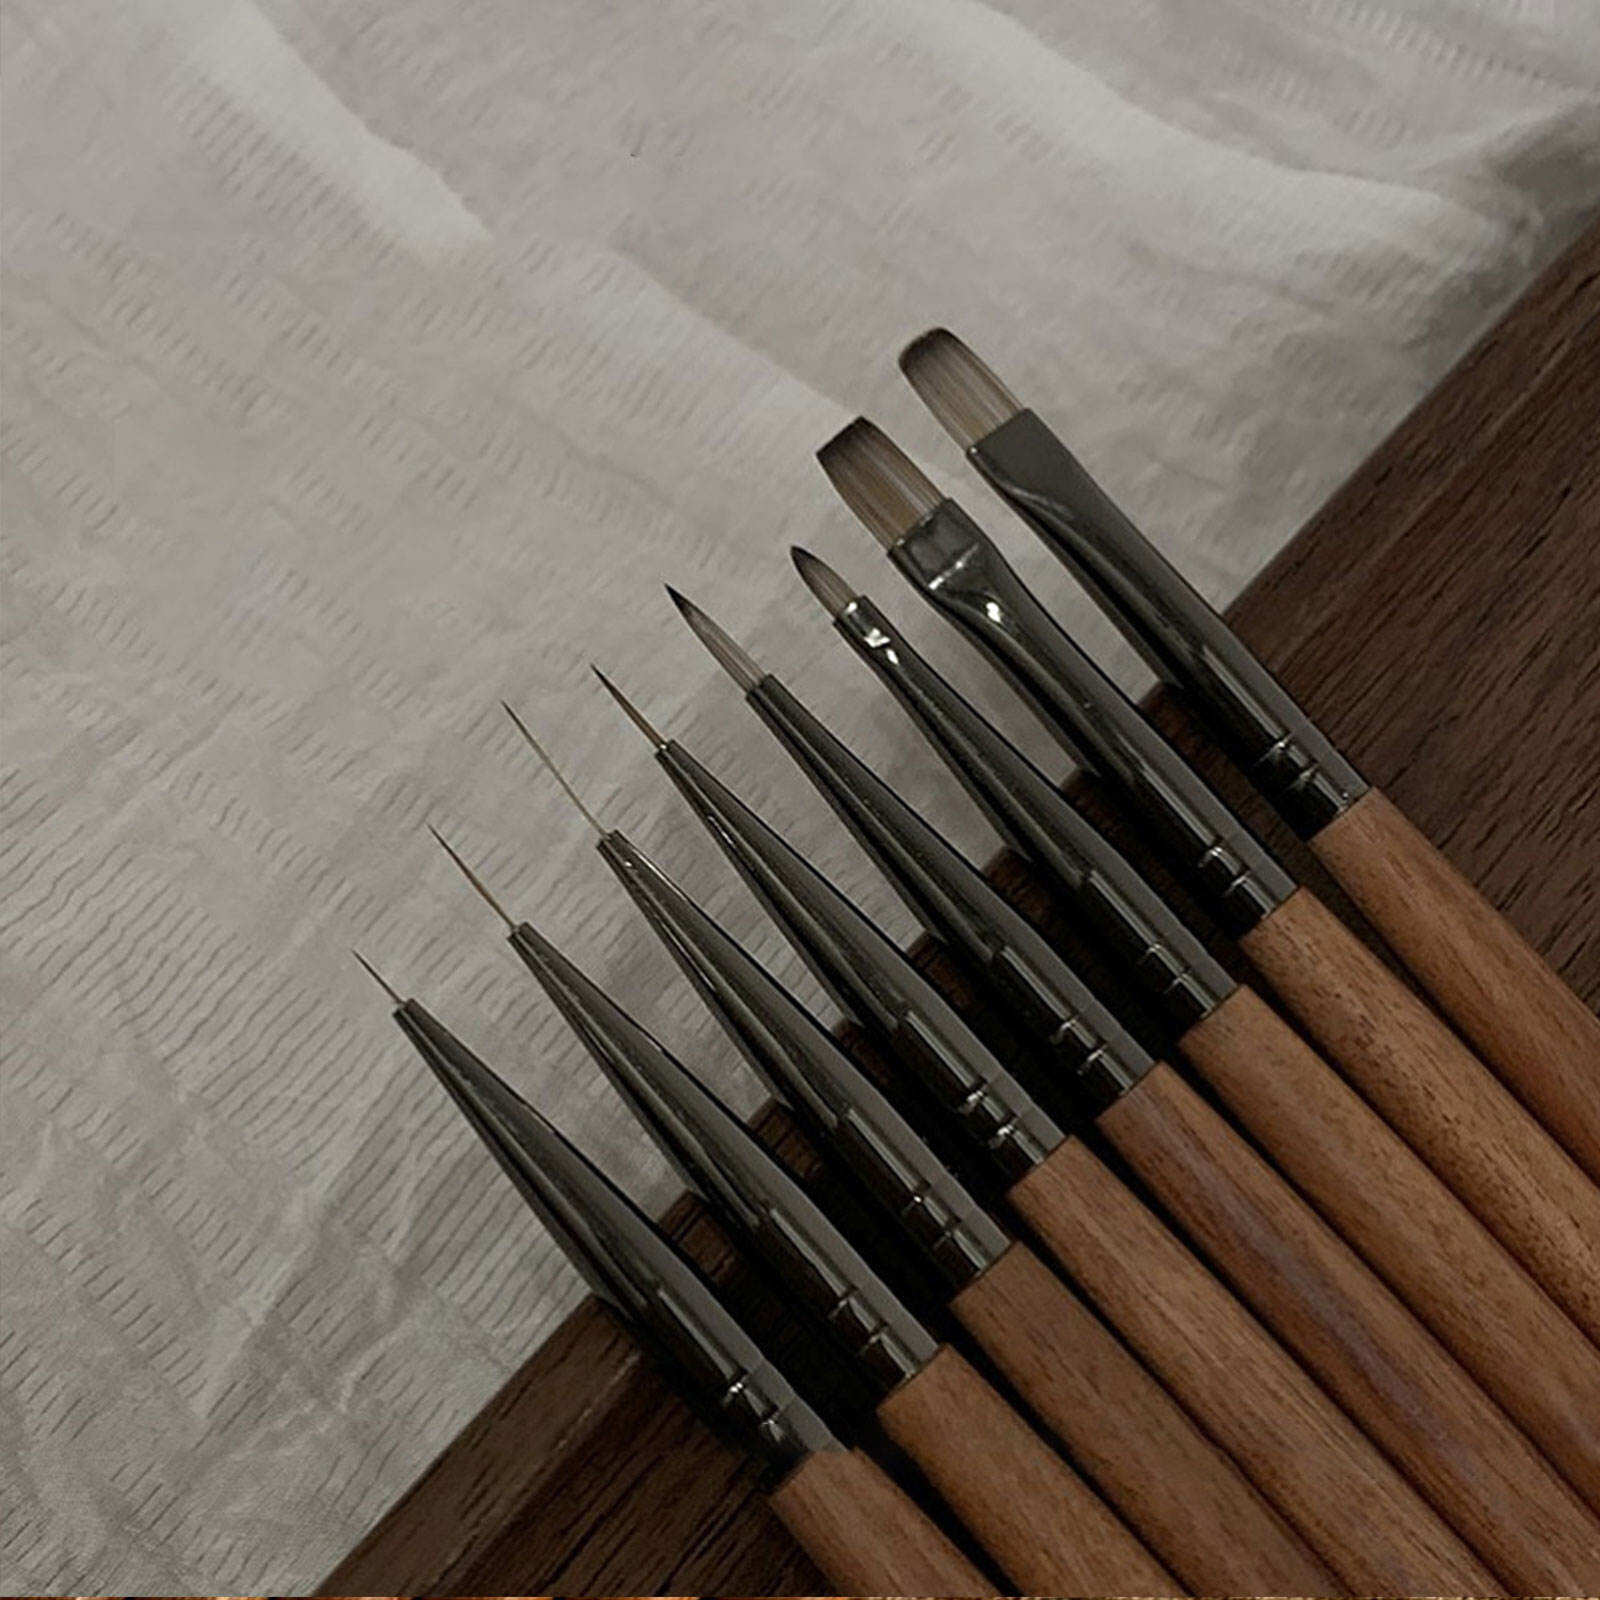
3. Ergonomic & Solvent-Resistant Handle
Nail art takes patience and a steady hand. Our lightweight handle is balanced to reduce hand fatigue during long sessions. Plus, the coating is resistant to alcohol and acetone, so the handle won't peel or become sticky over time.
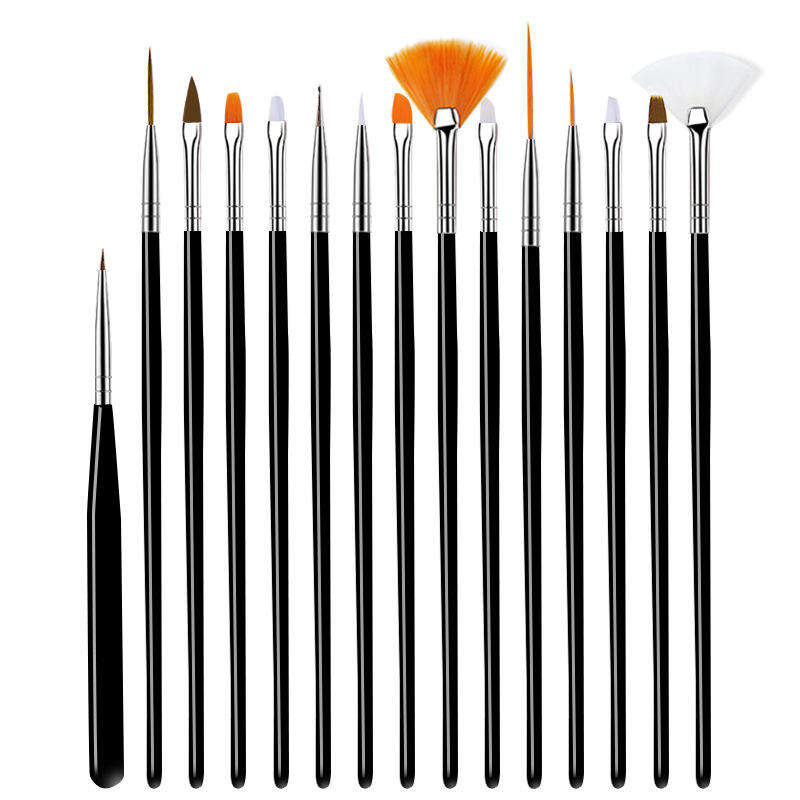
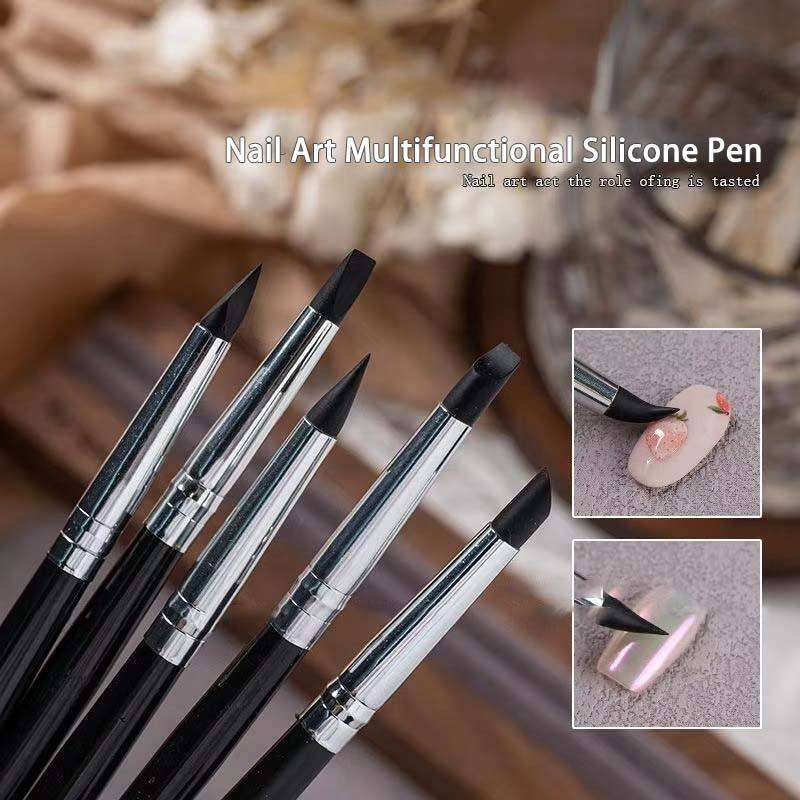
Versatility: What Can You Create?
This Nail Art Brush for Gel Polish Design is not a one-trick pony. It is the most versatile tool in your kit. Here are the top techniques you can master with it:
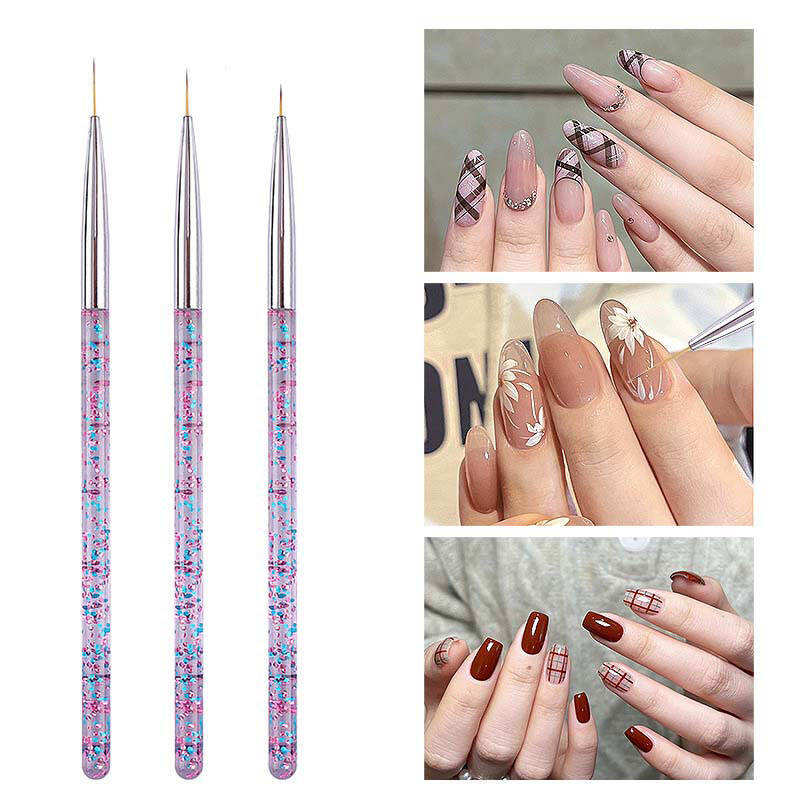
Intricate Line Work: The ultra-fine tip is perfect for drawing razor-sharp straight lines, grids, and geometric shapes.
The Perfect French Smile Line: Clean up your French tips or draw them freehand with absolute control.
Swirls and Ribbons: The flexibility of the bristles allows you to glide around curves effortlessly for that trendy 70s swirl look.
Filling in Details: Use it to fill in small areas of color in character art or floral designs where the bottle brush is too big to fit.
Marbling: Drag through wet gel colors to create seamless marble or smoke effects without muddying the colors.
Step-by-Step: How to Use Your Brush Like a Pro
Using a professional liner brush requires a slightly different technique than using a standard polish brush.
Step 1: Prep the Brush
If the brush is new, it may have a protective gum coating (stiff feeling). Gently flick the bristles with your thumb to break the seal, then wipe it with a lint-free wipe soaked in a little alcohol or clear base gel.
Step 2: Load the Brush Correctly
Do not dip the brush all the way into the bottle. Instead, put a drop of gel polish on a palette (or piece of foil).
The Technique: Pull the brush through the gel drop, rotating it slightly as you pull. This coats the bristles evenly and shapes them into a fine point. Do not overload the brush; you want a thin coating, not a glob.
Step 3: Anchor Your Hand
Stability is key. Extend your pinky finger and rest it on your other hand or the table. This "anchor" acts as a stabilizer, preventing your hand from shaking while you draw fine details.
Step 4: The Light Touch
Let the bristles do the work. Use the very tip of the brush for thin lines. If you press down harder, the bristles will fan out, creating a thicker line.
Step 5: Cure
Remember to flash cure your design (10-30 seconds) periodically. This "freezes" your art in place so you don't accidentally smudge a perfect line while working on the next part.
Critical Maintenance: How to Clean & Store Gel Brushes
The lifespan of your Nail Art Brush depends entirely on how you clean it. Gel polish hardens when exposed to UV light, so proper care is non-negotiable.
The Golden Rules of Brush Care:
NEVER use pure Acetone for daily cleaning: Acetone is harsh; it can dry out the synthetic bristles, making them brittle and frizzy over time.
The "Clear Gel" Cleaning Method (Highly Recommended):
Squeeze a blob of clear Base Coat or Top Coat onto your palette.
Wipe your dirty brush gently into the clear gel. The clear gel will push out the colored pigment.
Wipe the brush on a lint-free pad. Repeat until the brush runs clear.
This method keeps the bristles conditioned and shaped!
Alcohol Method: If you must use a liquid, use 70-90% Isopropyl Alcohol. Dip and wipe gently.
Avoid Sunlight: Never clean your brush near a window or your UV lamp while it is on. Even a small amount of ambient UV light can cure the leftover gel deep inside the bristles, ruining the brush permanently.
Always Cap It: Always replace the cap immediately after use to protect the bristles from dust and light.
FAQ
Q: Can I use this brush for acrylic powder application?
A: We do not recommend it. Acrylic brushes require natural hair (like Kolinsky) to hold the monomer liquid. This brush uses synthetic bristles designed specifically for the viscosity of Gel Polish and Gel Paint.
Q: Is this brush suitable for beginners?
A: Absolutely! In fact, beginners benefit the most from high-quality tools. A precise brush compensates for a lack of experience, making it easier to control where the color goes compared to cheap, thick brushes.
Q: Can I use it with regular nail polish?
A: You can, but you must clean it with non-acetone remover immediately. However, this brush performs best with gel products which don't dry in the air, allowing you more time to work.
Elevate Your Manicure Routine
Don't let your tools limit your talent. Whether you are a professional tech looking for a reliable daily driver or a home user wanting to try other designs, the Nail Art Brush for Gel Polish Design is your key to precision.
lean lines, intricate details, and professional results are just a brushstroke away.
Contact us Today and Start Painting Your Masterpiece!